AI Agent Management - Part I
Productivity in 2026 is less about manual execution and more about AI agent management.
AI
Jack Jalali
2/15/20266 min read
Why this matters right now:
I think we have moved passed "prompting" a chatbot. In 2026, the real leverage comes from knowing which agent to deploy for which task and how to make them talk to each other effectively. It's basically like managing a silicon-based team. Of course, security and privacy plays a major central role here.
The way I'm going to approach this in two ways, I'm going to deploy a personal assistant based on OpenClaw, an open-source orchestration layer for AI models. Also I'm going to start thinking on how a similar approach can be used in day job as a cloud engineer. The latter exercise is going to be a feasibility study, for obvious security reasons, based on Agent Zero.
A quick comparison and use cases:
OpenClaw (intent: productised assistant)
Emphasises Voice Wake/Talk Mode, Live Canvas, “first-class tools” (browser/canvas/nodes/cron/sessions), and companion apps.
Practical implication: better if you want a multi-surface assistant (mobile/desktop integrations, ongoing scheduled automation) with less initial engineering.
Agent Zero (intent: framework/control)
Positions itself as dynamic/organic, transparent/customisable, and uses the computer as a tool.
Emphasises primitives like Projects, Memory dashboard, Python-based extensions, knowledge base, MCP, and agent-to-agent comms (A2A).
Practical implication: better if you want to engineer agent behaviour (guardrails, custom tools, deterministic hooks), not just “install and chat”.
Setting Up Your Cloud AI Agent with OpenClaw
Following this guide ensures That my AI agent is not only functional but "sandboxed" and secure from hackers.
Step 1: Setting up your VPS in Hostinger
Hosting on a Virtual Private Server (VPS) is the gold standard for security and reliability.
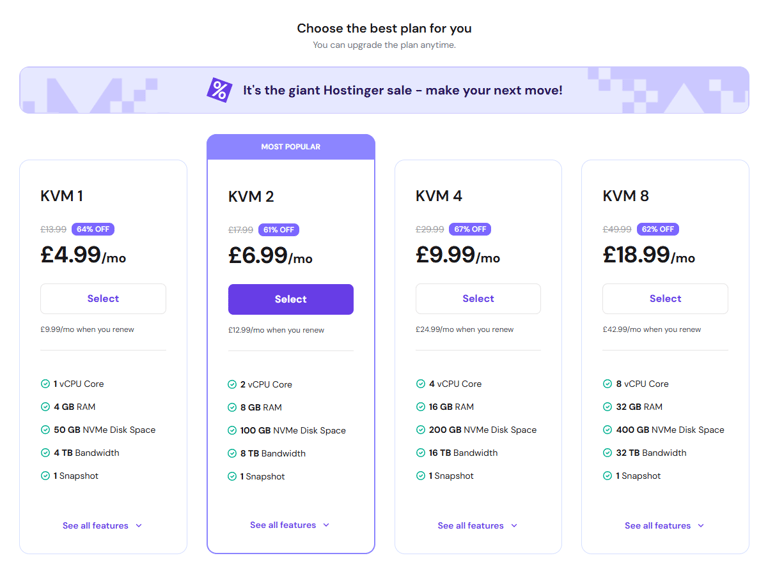
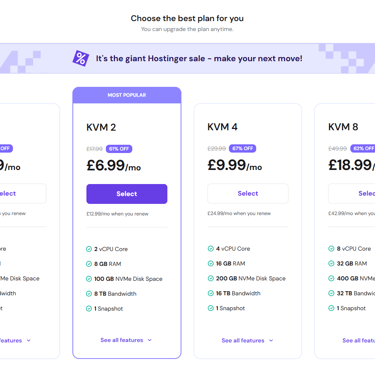
1. Select a Plan: Go to Hostinger and choose the KVM2 plan.
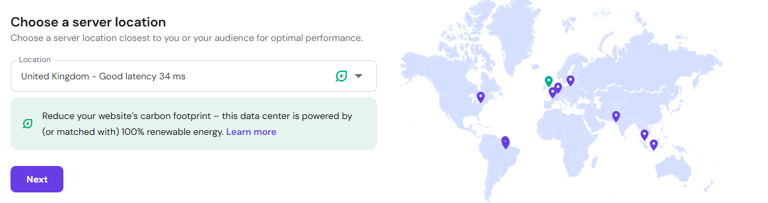
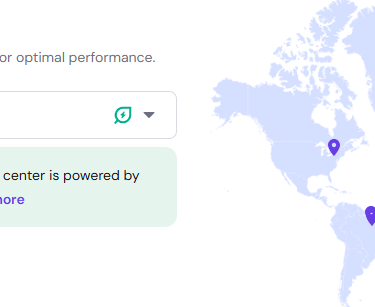
2. Server Location: Choose a location with the lowest latency to your physical location (e.g., I'm in UK, so I'm going for UK South).
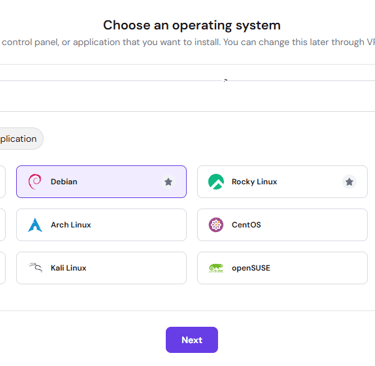
3. Choose Operating System: Select Plain Operating System and choose Debian 13 (Ubuntu is also acceptable).
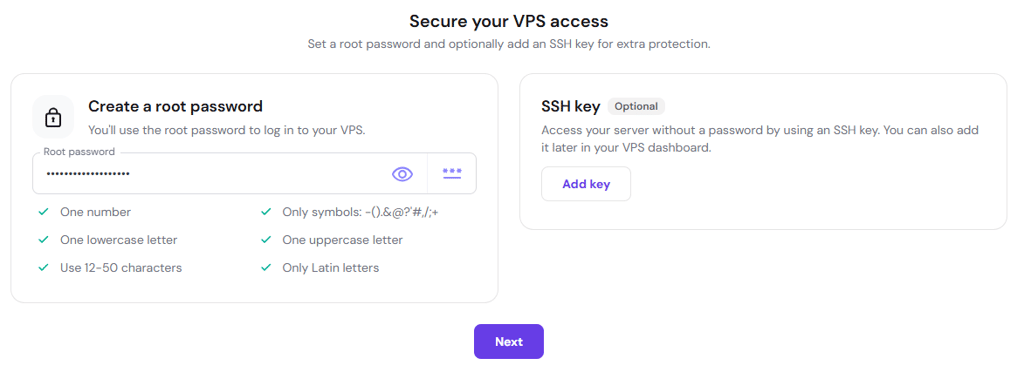
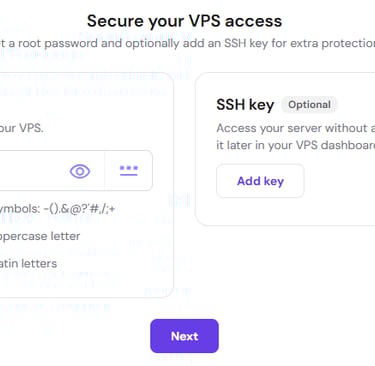
4. Set Root Password: Generate a random, difficult password and save it. Avoid using simple or personal names.
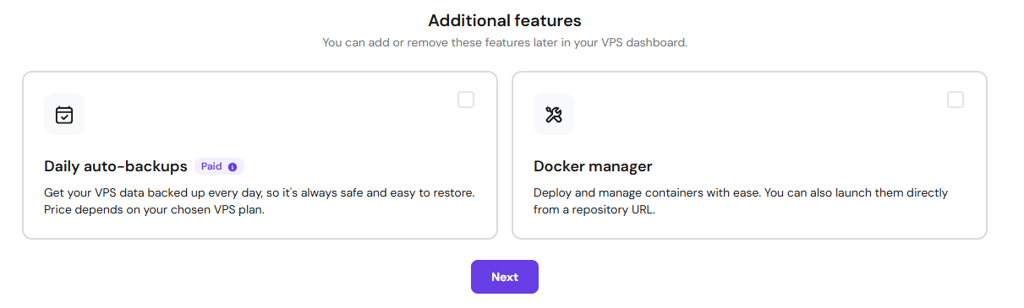
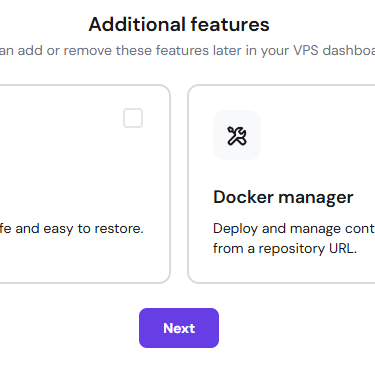
5. Initialize: Click Finish Setup (do not enable Docker for this specific configuration) and wait approximately 10 minutes for provisioning.
Step 2: Configuring and Hardening VPS
Standard cloud servers are vulnerable to internet scans; I will hide mine using a VPN tunnel.
1. Access the Terminal: Open your computer's terminal and log in as root: ssh root@your_server_ip. Paste your root password when prompted (no characters will appear).
2. Install Tailscale (VPN): Run curl -fsSL https://tailscale.com/install.sh | sh.
3. Authenticate Tailscale: Run tailscale up --ssh and click the provided URL to sign in with your secure account. Install Tailscale on your local computer to link the devices.
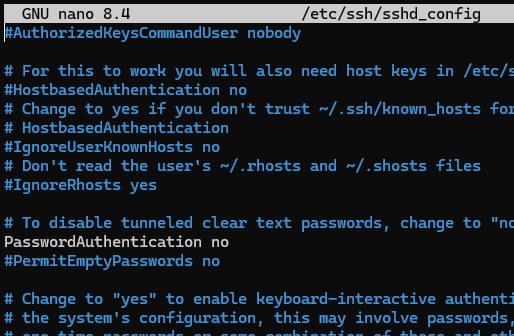
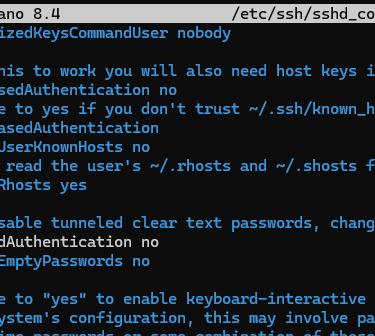
4. Harden SSH Configuration: Type nano /etc/ssh/sshd_config.
◦ Find ListenAddress and change it to your Tailscale IP (starting with 100).
◦ Change PermitRootLogin and PasswordAuthentication to no.
5. Create a Non-Root User: Run adduser [username] and then usermod -aG sudo [username] to grant admin rights without using the root account.
6. Restart & Firewall: Run systemctl restart ssh. In your Hostinger dashboard, create a firewall rule to Accept UDP traffic on port 41641 for Tailscale, and ensure Port 22 (SSH) is blocked for the public internet.
Step 3: Securely Installing OpenClaw
Now we install the "orchestration layer" that talks to the AI models.
1. Login via Tailscale: Log out of the root account and log back in as your new user using the Tailscale IP: ssh [yourname]@[tailscale_ip].
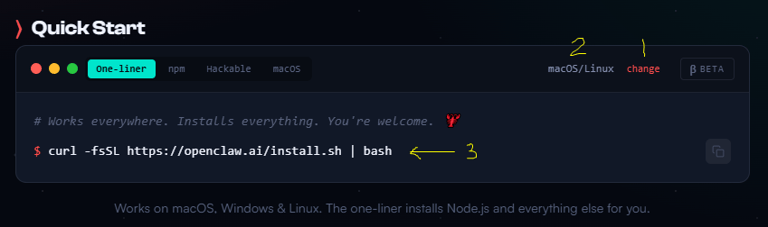
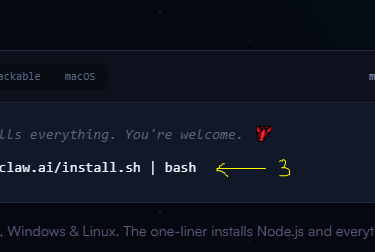
2. Run the Installer: Copy the oneliner command from the OpenClaw website and paste it into the terminal.
3. Configuration Choices:
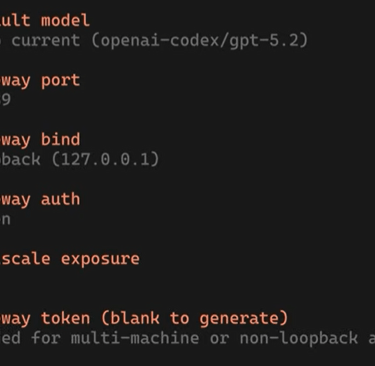
◦ Choose Manual and Local Gateway.
◦ AI Model: To save money, I'm going to use my ChatGPT Pro Codex, which I can use without limits, of course fair use policies apply. Using API keys will be a costly exercise.
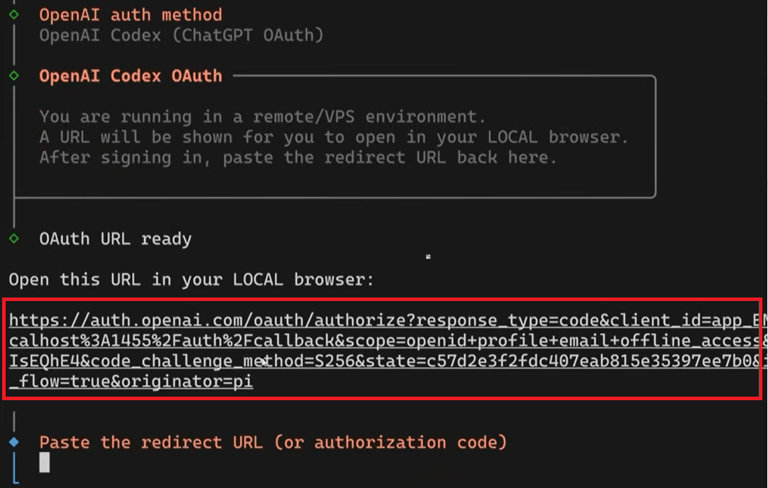
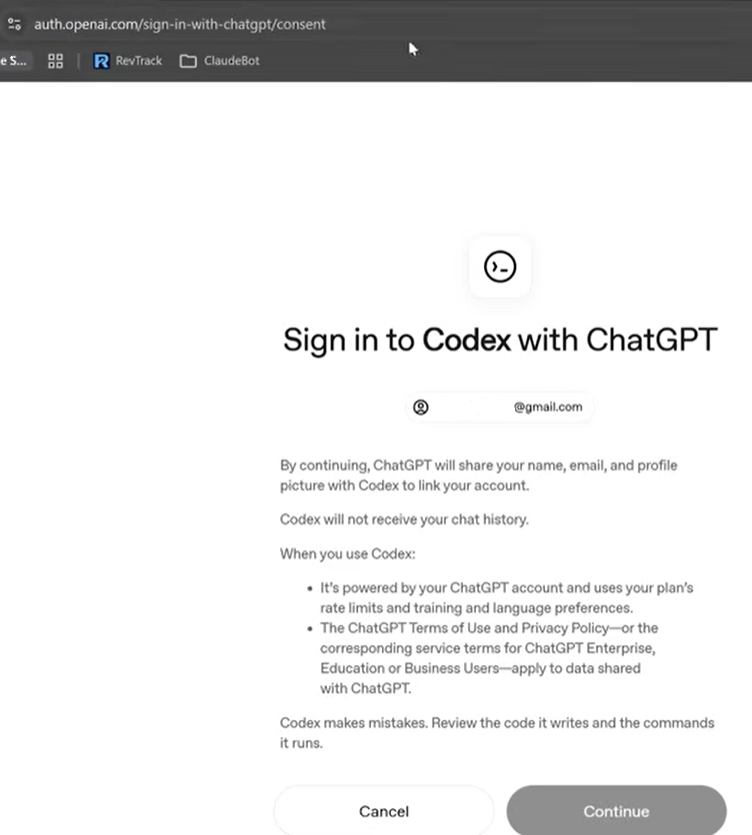
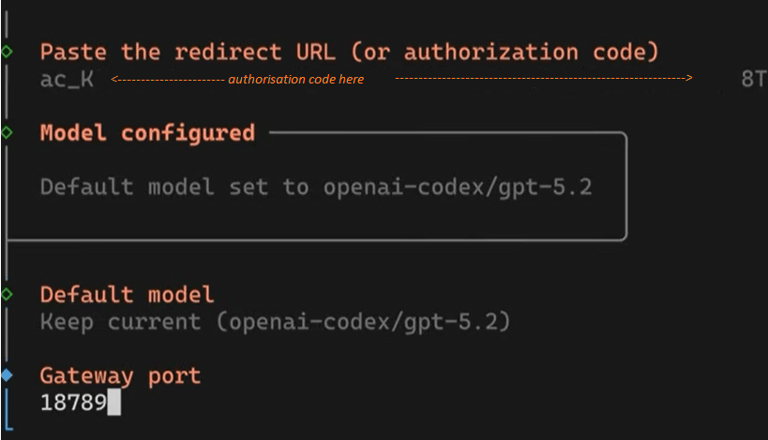
◦ Subscription Auth: Follow the URL provided by the terminal, log into your AI provider, and copy the code/token from the browser's redirect URL back into the terminal.
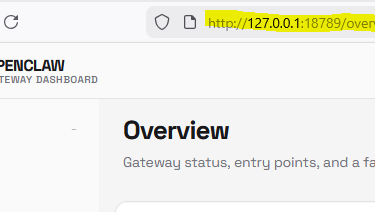
Next copy the the highlighted URL in a browser, authenticate and continue:
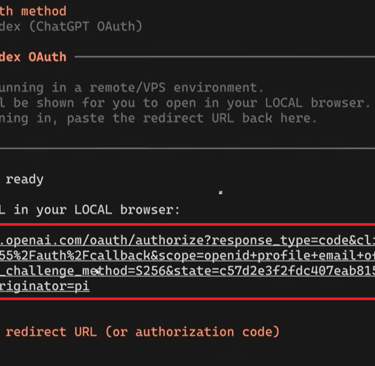
Copy the authorisation code, everything that between the equal sign up to the ampersand as shown above and paste it as shown below:
4. Final Security: Keep gateway bind loopback turned on and Tailscale exposure turned off.
Step 4: Integrating OpenClaw with Telegram
Telegram allows me to chat with my bot securely from any device.
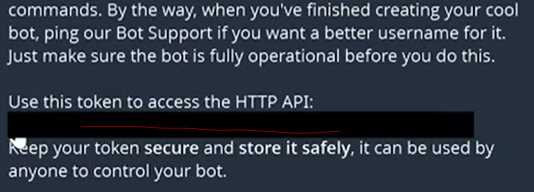
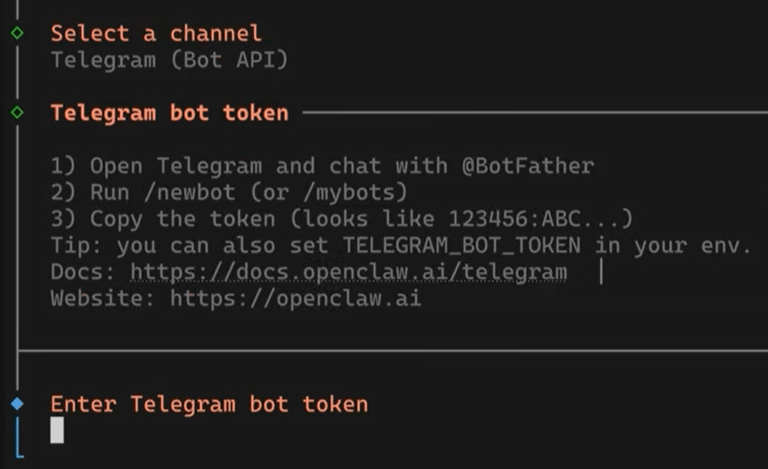
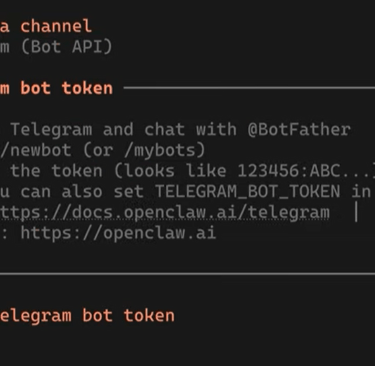
1. Create Your Bot: On Telegram, message the BotFather. Use /newbot, name your bot, and get the API Token.
2. Input Token: Paste this token into the terminal configuration.
3. Hatch the Bot: Select Hatch in Terminal UI when the installation finishes.
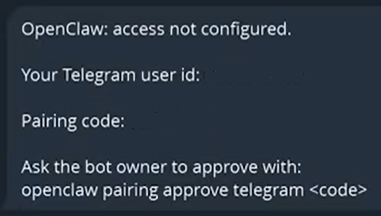
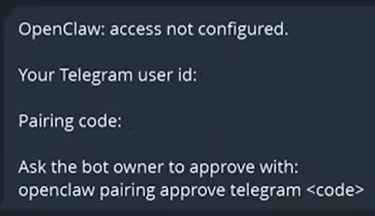
4. Pairing: Message your new Telegram bot /start. It will give you a pairing command (e.g., openclaw pairing approve Telegram). Copy and paste this into your VPS terminal to finalize the connection.
now I can start chatting with the bot directly from telegram. Now I go back to my telegram chat I had with BotFather and delete telegram's API token.
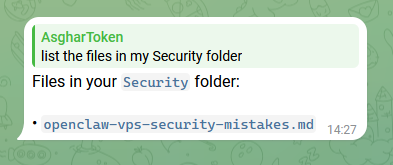
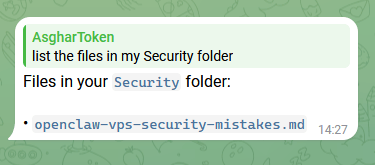
Earlier I asked assistant, create a folder called "Security" and do a web search to find the most common security mistakes people make when installing OpenClaw on VPS. I also asked my assistant to save the findings as an .md file. The means that the contents of that file is now in OpenClaw's memory. The followings are based on the recommendation in that file:
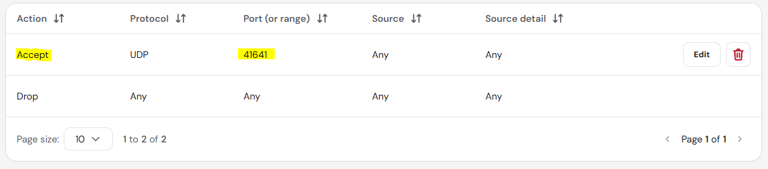
Add a VPS firewall:
Drop all connections apart from those that are between my VPS and Tailscale (port: 41641):
Find OpenClaw's gateway port
Then map all traffic that hit my VPS on port 18789 to my localhost:
ssh -N -L 18789:127.0.0.1:18789 jack@<my tailscale IP address>
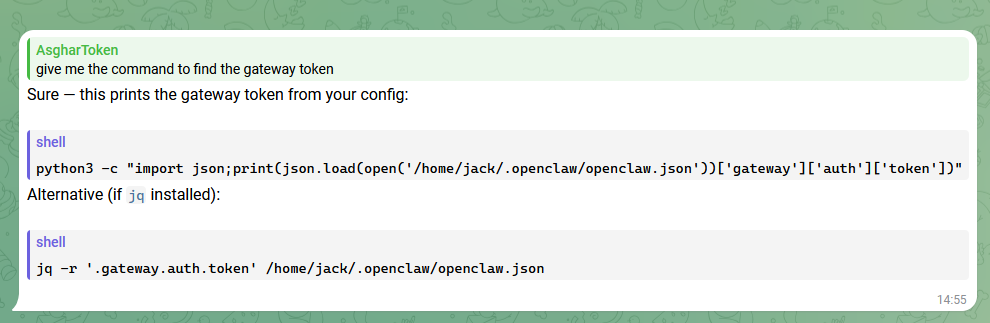
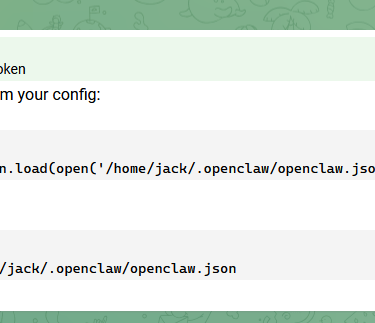
to interact with OpenClaw's UI, we need a gateway token. I'm not going to waste time and I'll ask my assistant:
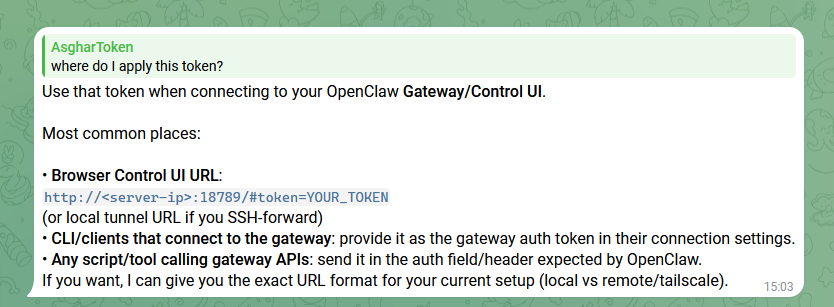
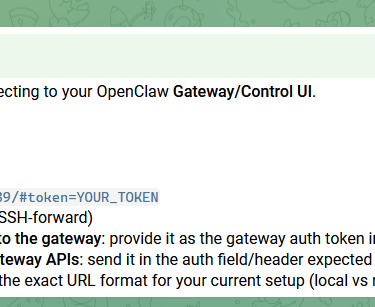
I ran the above script, got the gateway token, but had no idea how to apply it, so I asked:
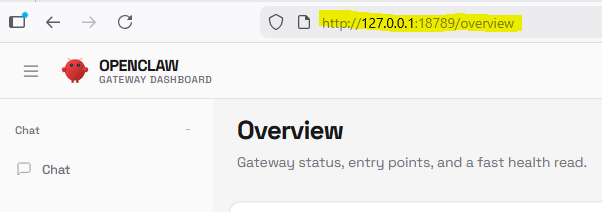
I can now access OpenClaw's UI safely from my laptop:
In part II, I'll configure my assistance access to my sandboxed Gmail and google drive and enable TTS so I can use audio to interact with my assistant.